BUDS2 Installation Guide
Learn how to correctly install BUDS2 diagnostic software including driver installation, system requirements and first program start.
Manual content
Overview
This manual explains the complete process of installing BUDS2 diagnostic software used for BRP vehicles such as Sea-Doo, Ski-Doo and Can-Am.
The guide includes system requirements, installation steps, driver configuration and troubleshooting tips for successful software setup.
This guide explains how to correctly install BUDS2 diagnostic software used for BRP vehicles such as Sea-Doo, Ski-Doo and Can-Am.
Follow the step-by-step instructions below to complete the installation process, configure system settings and prepare the software for first launch.
Before starting the installation, make sure that your computer meets the minimum system requirements and that all required drivers are available.
Before installing BUDS2 diagnostic software, verify that your computer meets the minimum system requirements (see the Computer Requirements section).
Download the latest version of BUDS2 software from the official source.
To begin installation, run the executable file named "BUDS2_25.0.0_7B7B_3-02-26".
If your Windows account does not have administrator privileges, right-click the installer file and select "Run as Administrator".
Confirm any security warnings by clicking "Run".
During the installation process, you can cancel at any time by clicking "Cancel" or closing the installation window.

Figure 1 – Running the BUDS2 installer as Windows Administrator
When the installation wizard starts, choose the preferred installation language from the drop-down menu.
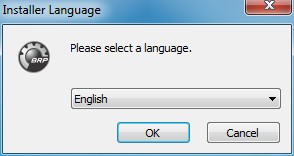
Figure 2 – Selecting installation language
The installer will then display the installation directory and required disk space.
The installation path cannot be modified. If available disk space is insufficient, free additional space and restart the installer.
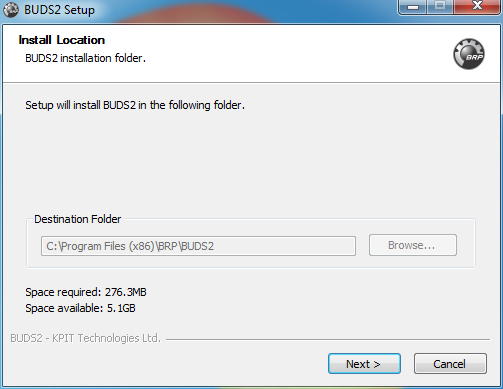
Figure 3 – Installation folder and disk space information
Next, select the Start Menu folder where the BUDS2 shortcut will be created.
By default, the shortcut is placed in the "BRP/BUDS2" folder.
If you prefer not to create a Start Menu shortcut, enable the "Do not create shortcuts" option and proceed by clicking "Install".
If the message "BUDS2 already running, you have to shut down all program instances" appears, close all running instances of BUDS2 and restart the installation.
Only one version of BUDS2 can be installed at a time.
If the warning "BUDS2 already installed…" appears, confirm the removal of the existing version before continuing.
If necessary, back up captured BUDS2 data before uninstalling.
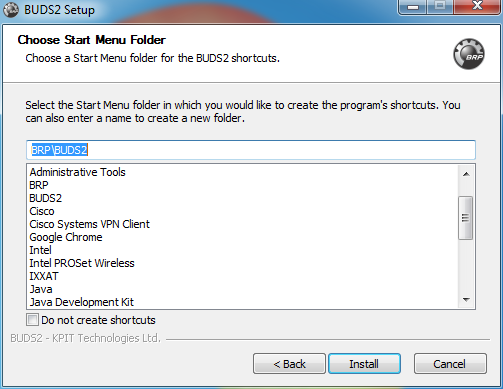
Figure 4 – Creating Start Menu shortcut
The installation process will then complete.
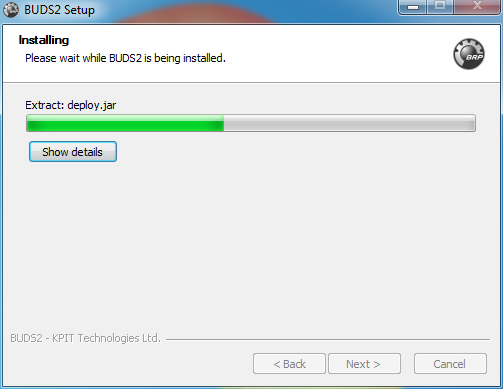
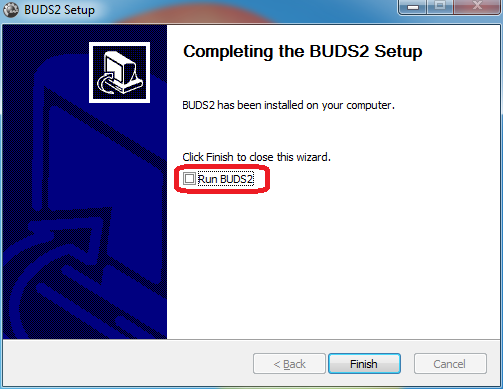
Figure 5 – Completing BUDS2 installation
After installation, a confirmation dialog will appear.
Uncheck the "Run BUDS2" option and click "Finish" to close the setup wizard.